
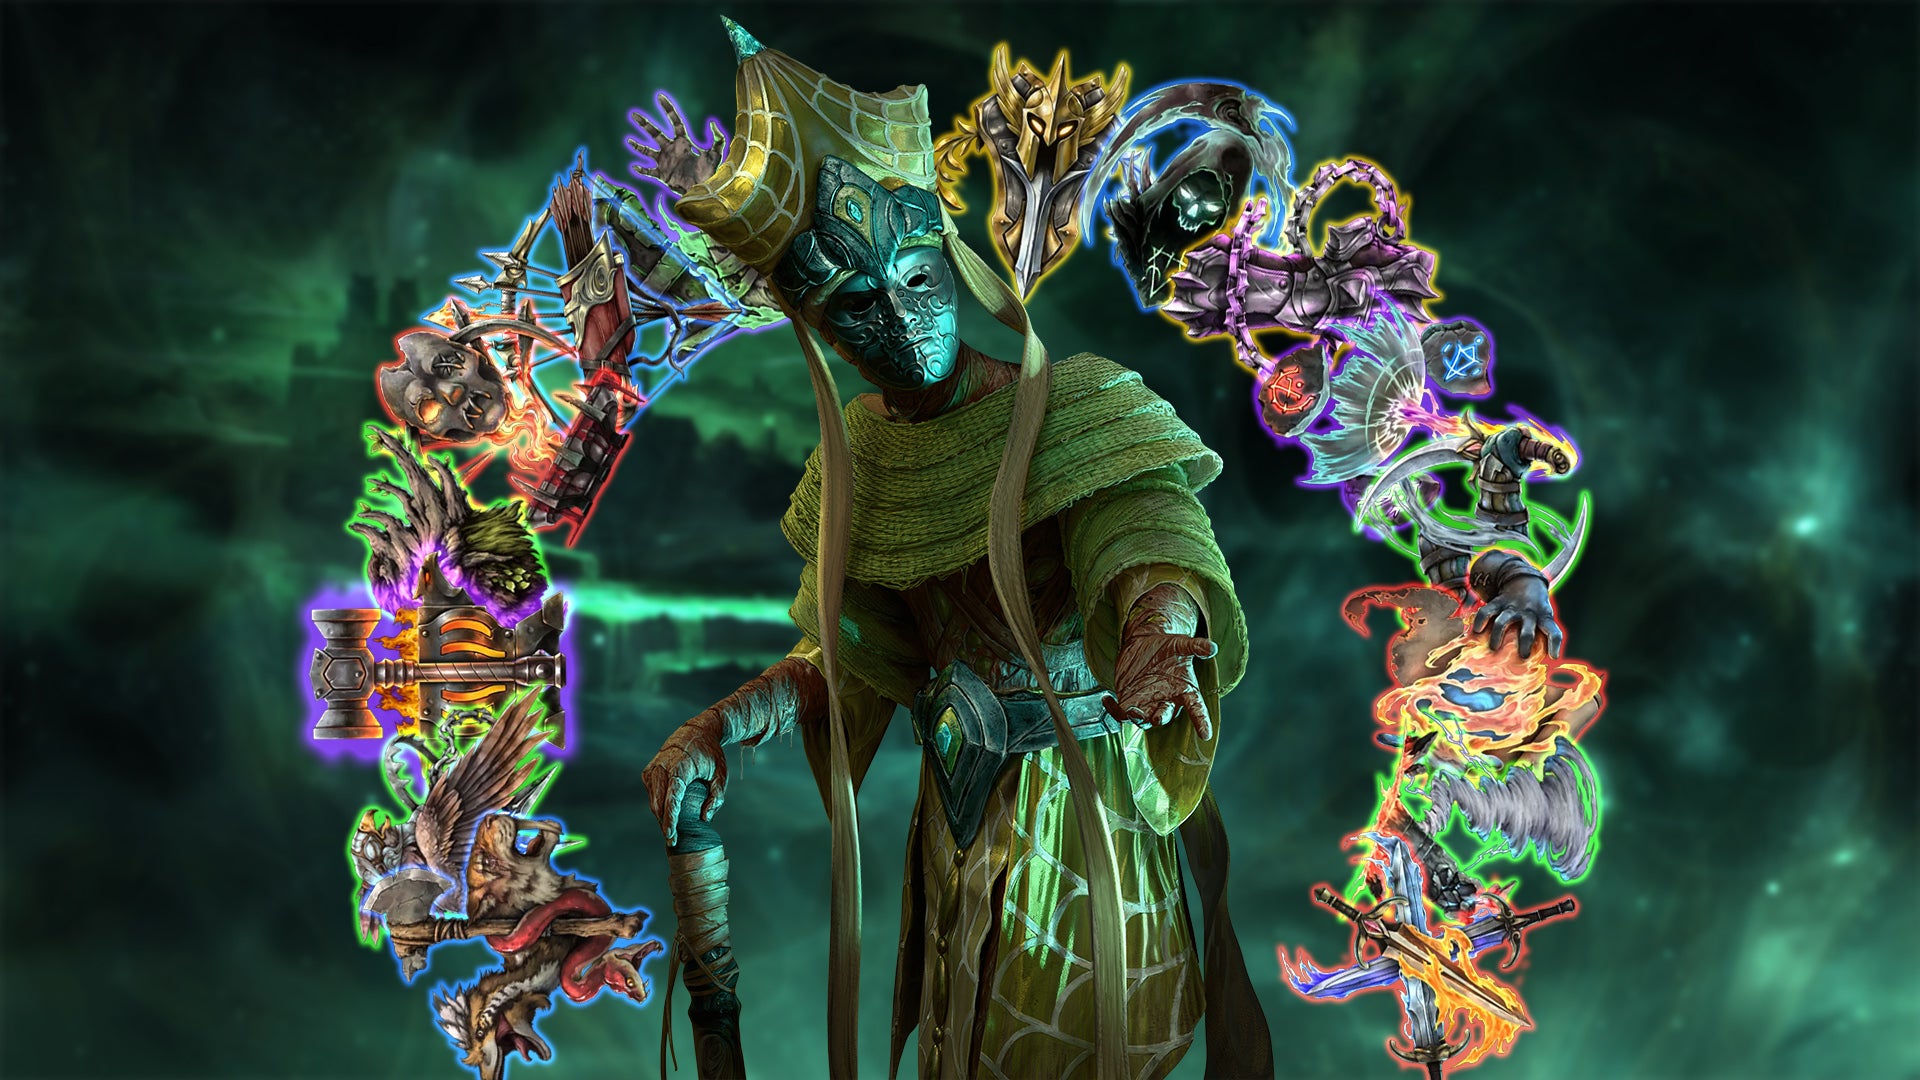

Last Epoch sports a whopping 15 Mastery classes. Masteries are essentially a subclass that allows you to lean in on one aspect of your build. They range from traditional roles like Sorcerer to more out-there options like Falconer (which sees you flying around the map using your bird friend for damage). It can be difficult to choose which ones to focus on with so many options, but this Last Epoch Mastery tier list will help.
How We Ranked the Best and Worst Masteries in Last Epoch
What makes a Mastery strong, weak, or somewhere in between depends on how many key checkboxes it ticks for potential builds. Every build has a long list of things it can use to make its clear (i.e. mapping) and bossing (i.e. single target), and defense as strong as it can be, but some are stronger than others, or have stronger synergies than others.
For example, ‘more’ damage multipliers are stronger than increased damage multipliers, so if a Mastery offers more of the former, it’s more likely to be higher up on this list. Be sure to read passives closely to determine how they scale damage — they will tell you! There are also stats like critical hit chance, critical hit multiplier, flat damage, armour shred chance, armour shred effect, and plenty more that pull a lot of weight.
Defensively, critical hit damage reduction or critical damage avoidance are, well, critical for most builds, as random damage spikes are a great way to die, and these let you avoid them entirely. Resists are also important — while you can always get them on gear and idols, having the option to get them on the Mastery passive tree gives you flexibility. Meanwhile, damage reduction is arguably the best way to survive in the game, so of course it’s a fairly rare stat to find. You also have recovery (leech, health regeneration, health/ward on hit, etc.) and eHP (Ward and/or Health) to worry about, and a ton of other things. All that is to say, any Mastery that offers these in a manner that’s point efficient is more likely to be toward the top of this list.
As for Mastery skills, these are evaluated largely based on their numbers and damage potential for both bossing and clearing, with a little consideration given to how they feel to play. A skill may be S-Tier but if it feels clunky to play, that may contribute to a Mastery ranking a bit lower than it could. Of course, if you’re not the type to mind mechanics like snapshotting, you’re welcome to rank a given Mastery higher.
Last Epoch Season 2 Masteries Tier List
- S-Tier: Paladin, Void Knight
Best overall clear, bossing, and defense, with no significant weaknesses
- A-Tier: Falconer, Bladedancer, Shaman, Druid
Strong clear, bossing, and/or defense. Lacking significantly in one area
- B-Tier: Marksman, Lich, Beastmaster
Good clear, bossing, and/or defense. Lacking significantly in one or more areas
- C-Tier: Necromancer, Forge Guard, Runemaster
Decent to good clear, bossing, and/or defense. Lacking significantly in one or more areas
- D-Tier: Spellblade, Warlock, Sorcerer
Poor to good clear, bossing, and/or defense. Lacking significantly in multiple areas

S-Tier Last Epoch Masteries
S-Tier: Void Knight
If you want to delete screens with a giant purple sword and never die, Void Knight (and Erasing Strike) is for you. It scales well too when it transitions into the World Splitter version. A Warpath version is also just as viable, and happens to be both top tier and new player/casual friendly.
Void Knight has more mobility and effective HP (eHP) than it used to, and sports the same huge clear and very respectable bossing damage. It also has the distinct benefit of being able to move and do damage simultaneously, which is always a huge boon for damage per second (DPS), while feeling very smooth to play.
In terms of numbers, it sports 200% added damage effectiveness on all skills (and 600 on Erasing Strike), which is very much where you want to be.
The passive tree offers resistance to and penetration for Physical and Void damage, leech and leech rate, damage reduction, increased health, slow and chill resist, mana solutions, attack speed, and plenty more. Standout nodes include Sorrow & Steel (damage, armor, and area of effect in one tidy package), Void Corruption (a huge amount of critical hit chance and multiplier), and Mortal Cleave (culling, damage, and critical hit chance all in one). There’s even more to mention, but you get the idea: Void Knight has it all.
S-Tier: Paladin
Developer Eleventh Hour Games (EHG) admitted it overdid it with the Sentinel rework, which is why Judgement Paladin took four of the top 5 spots in the Terminate Uber Abberoth race. So, there should be no doubt whatsoever this Mastery deserves S-Tier.
As with Void Knight, Paladin has extremely potent skills, doesn’t die, and does massive damage. Judgement alone is obscene, offering 350% damage effectiveness and 200% critical multiplier against 15 mana cost and 4s cooldown, paired together in one-two healing and damage punch. The thing is, every single one of its other skills are about as potent, which can’t be said for any other Mastery. Symbols of Hope and Holy Aura both follow the damage and defense in one theme, while Healing Hands just offers a metric ton of healing (primarily for those extra tough bosses).
The passive tree offers the most resistances in the game, plus plenty of recovery and damage reduction, mana, attack and cast speed, block, armor, penetration, and more. Standout nodes include Covenant of Light (which buffs Healing Hands and Holy Aura simultaneously), Covenant of Protection, and Reverence of Duality and Convenant of Dominion, which collectively offer ridiculous amounts of damage, sustain, damage over time mitigation, and defense (sometimes all at once).
Though Judgement steals the show, Bleed Hammerdin and Smite are strong build options as well if you want to go a little off-meta.

A-Tier Last Epoch Masteries
A-Tier: Falconer
EHG has stated its goal when nerfing overpowered (OP) builds is to make them “just under OP”, and that’s exactly what happened with the Falconer Mastery and its popular builds. Outrageously powerful when it launched, it’s now simply silly good (the horror!).
Movement speed on this one is unrivaled, and damage is top tier, thanks in part to easy access to critical hit multipliers and Dexterity scaling options. Even better, it has the option to employ both simultaneously thanks to Aerial Assault: just grab your bird and it’s bombs away.
Its only real weakness is defense. You’ll need to use Dodge alongside Silver/Dusk Shrouds and/or Glancing Blows to avoid damage, keeping you on your toes. An almost complete lack of resistance options on the tree is a factor as well, as this puts a lot of pressure to get resistance on your Blessings, idols, and gear when you might prefer other options.
You can lean into the Falconer’s lack of defense with a Zero HP Ballista Falconer build that hits incredibly hard, but requires you to cheese incoming damage using Silver Shrouds and Dodge. Safe to say we won’t be using this in hardcore.
Apart from Ballista, Umbral Blades is one of the top Falconer builds, which can be built using Shadow Daggers before you swap over to a Dexterity stacking version with Talons of Valor bow and Razorfall boots. If you like the idea of slicing enemies up and dashing all over the place while flying around on your feathered friend, you’ll find it a joy to play. It is button intensive, however, especially if you insist on maximizing DPS.
A-Tier: Bladedancer
While Falconer is more popular, Bladedancer is about as strong and well-rounded. Clear, single target, and defense are all where you’d want them to be, thanks to the suite of high-DPS skills, powerful passive support, and useful iframes from Lethal Mirage. If you want a strong but fast melee class, this is the one.
Standout nodes on the passive tree include Pursuit (efficient damage and movement speed), Argent Veil (makes dodge a lot more reliable), and Death’s Door (damage reduction for low life builds). More broadly, Glancing Blows, Dusk Shrouds, and Dodge form a powerful defensive layer, and Dexterity stacking, crit, leech, Frailty, armour shred and armour shred effect are all on offer. In short, you have everything you need to succeed. The only thing really holding Bladedancer back is that it’s not quite as over the top numerically as things like Judgment Paladin.
In terms of builds, you can go with Shadow Daggers, Shadow Cascade, Chakrams (take the Chakram node on the Shurikens tree), or Lethal Mirage using Black Blade of Chaos (requires a 2H sword of the same name). The Chakram version at least should be Uber Abberoth viable.
A-Tier: Beastmaster
The summoner Mastery. It’s not as tanky as Void Knight or Paladin, but Beastmaster still took 2nd place in the Uber Abberoth race. Granted it’s partly due to Storm Crows, which has top tier DPS due to snapshotting which isn’t Beastmaster exclusive, though the Summon Wolf companion buffs surely helped. In any case, Beastmaster Summons is a proven archetype, though they take some time to get going.
You can go heavier on the Beastmaster skills by building around Poison Nova Scorpion (check out CookBook’s version). It’s well-rounded in terms of damage and clear but usually suffers from low movement speed, so if you’re coming from something like Rogue, it’ll be a shock. There are options to alleviate it—Haste via The Scavenger belt and increased Haste effect on idols, for example—but it will never be a fast build.
The passive tree offers ever-important damage reduction, health, healing, health regeneration, endurance for companions, crit support, and stun. There is a lack of damage, but you can grab this elsewhere.
A-Tier: Shaman
A melee and/or elemental Mastery, Shaman is one of the highest Arena pushing builds: it can reach Wave 500-700+. The clear is quite fast, albeit not top tier, with a similar story on defense.
Tornado is a lot more damage than it seems, and the vacuum effect is great, making it the star of the show. Earthquake and Avalanche see little play due to high mana costs and/or requiring Spriggan Form which is clunky. However, using Aftershock idols can be welcome for some extra damage (so you’re essentially using Earthquake without suffering the problems of Earthquake). Summon Storm Totem is fairly popular, as well. If nothing else, it’s a nice decoy with decent damage.
As for the passive tree, you get a lot of Penetration (though you have to go through the defensively weak Attunement to get much of it), cooldown reduction, mana, auto trigger skills, attack and cast speed, elemental damage packaged with resists, Haste, and a lot more. The highlight skills include Fist of Stone (stun, Endurance, and health regen all in one), Lagon’s Answer and Conflux (auto and double cast Storm Bolt alongside area of effect (AoE) and damage reduction is efficient, to say the least), and Swirling Maelstrom (more auto casting fun, with health, mana, and Endurance Threshold on top). There’s even more to rave about, but you get the jist.
A-Tier: Druid
The shapeshifting Mastery, Storm Werebear is top of the pile here. Boasting great DPS, it can kill Abberoth (possibly even the Uber version), do 1000 corruption (the most you ever want to push due to severely diminishing returns), and around 300 Wave Arena (and as much as ~700). The eHP is very nice, to boot. If you like a combo playstyle and the idea of mauling enemies to death while filling the screen with tornadoes, this is a well-rounded, engaging Mastery to go for. Its primary weakness is that it’s not very fast at farming, though, so if you want to progress fast, Druid may not be the right fit.
Taking Werebear replaces four of your skills with new ones more fitting for a bear. Rampage and Maul sport the always appreciated package of movement and competitive damage, while adding in Knockback for good measure. Roar meanwhile offers Knockback and Stun, and can be configured to sustain Rage (basically bear mana). Its skill tree sports a no cooldown version of Rampage (yes please), can make Rampage trigger Storm Bolt, and supports Stun, Rage and Health on hit (via Invigoration), and reduces the cooldown of Maul, among other standouts.
Spriggan Form is very strong as well, bringing a ton of defense to the table, but is better supported by Druid/Beastmaster, and so won’t be discussed further here. Swarmblade is no slouch either (just not with Locusts), while Entangling Roots falls by the wayside. It’s not a terrible skill, but it’s mostly a buff skill for totems, which proves clunky as you can’t use it reasonably from Spriggan Form.
As with everything in the top tiers, the passive tree here offers more strong nodes than we have room to go into. There’s Spirit Warden for health, mana, and sustain, Focused Wrath for damage coupled with Rage decay rate buffs, Bush Stalker (crit and leech on crit), Fetid Resilience (multiplicative damage over time), Primal Shifter/Tiger Spirit (armour, damage, crit chance, and crit multiplier, all of which can be made to apply to minions as well), and Impervious (which grants damage reduction for doing melee damage). There’s plenty more, but the point stands: Shaman is clearly here to play.

B-Tier Last Epoch Masteries
B-Tier: Lich
The classic ‘sacrifice your life for bonuses’ archetype, Lich can hang with the better Masteries thanks to potent skills like Reaper Form and a meaty passive tree.
Drain Life has underwhelming stats, but can be useful with the Hecatomb node to convert your minions into mana. Aura of Decay is an appealing skill for the poison archetype (which gets a lot of support on the passive trees), but unfortunately is very weak in practice, because scaling applies to damage received and there are no great ways to mitigate it or turn it into an upside. Death Seal on the other hand is excellent, providing a huge 300% damage effectiveness boost and reducing damage taken to half. As with most things Lich, it’s slightly risky but well worth it.
As for Reaper Form, it’s only 100% damage effectiveness but this increases a lot via the passive tree. Additionally, it’s a movement skill, and it’s AoE damage that gains you health, making for a strong all-rounder. Again, it drains you, but you can overcome this with recovery options.
The passive tree provides options for Intelligence stacking, mana, health, ward, recovery, and more. The standouts here include Dance With Death, Hollow Lich, Unclosing Wounds, and Ageless Plagues, all of which offer terribly efficient damage buffs. There’s also automatic minion generation (Harvested Legions), critical strike chance and attack/cast speed buffs (Clairvoyant Insight), and Ageless Ascetic for buffs to movement, attack, and cast speed as well as leech. Not the best, but also not bad at all.
B-Tier: Marksman
Your classic Archer subclass. Hail of Arrows and Heartseeker are the popular builds. While not required, the former really wants the Sanguine Hoard unique quiver, but it shouldn’t be hard to pick up. If you like the idea of setting up a big bleed combo, it’s worth playing. Meanwhile, Heartseeker is pretty great if you like the idea of auto targeting projectiles. Just be sure to go with Bleed or Poison very early, before transitioning into the Icicle version once your gear is ready.
One of the strengths of Marksman is it offers tons of HP on hit, and because you tend to be shooting out a ton of projectiles, it can hit a lot. Multishot is a bit weak on base with 120% damage effectiveness and base 6 phys, though this improves greatly with all the multiplicative damage nodes on the passive tree, as well as some flat damage. Plus, it has a low mana cost. Meanwhile, Hail is nice because it doesn’t care about crit and sports 325% damage effectiveness by default. Detonating Arrow is simply underwhelming numerically, so it’s no surprise it’s not played.
On the passive tree you’ll find support for dodge, crit, movement speed, additional arrows, damage, recovery, and heaps more. Some of the best nodes among them include Heightened Senses (crit avoidance and crit multiplier), Thief’s Quiver (health and leech), and Death From Afar (stun and armour shred). As is typical for Rogue Masteries, it’s not going to win awards for defense, but you’ll never have to worry about damage or clear if you play your cards right.

C-Tier Last Epoch Masteries
C-Tier: Necromancer
Another summoner Mastery, this time with undead flavour. With a reasonably strong suite of skills and a passive tree that covers a lot of bases, it’s fitting that Necromancer can often hit 200-400 Waves in Arena.
Summon Skeletal Mage is a nifty skill in that it reduces enemy health regeneration by 20% (most useful against bosses) and can be converted to a Traversal skill; you’ll be focusing on a single powerful minion rather than an undead army, however. On the tree, you’ll find lots of support for Poison, Necrotic, Cold, and Fire, so there’s something for almost everyone.
Sacrifice sees little to no play because the Mastery has terrible personal damage support — it’s playable, but minions do the same thing for you but better.
Dread Shade offers a huge flat and increased percentage damage boost temporarily (at the cost of health), and can be made to explode your minions for big Necrotic damage (Doom Brand) or enhance Infernal Shade. There’s also the option to convert all Necrotic investment into Poison if that’s your jam. And then there’s the Beyond Death node which turns minions into exploding Zombies, Duskheart which converts Shade into a damage over time skill, and Symbiotic Apparition which grants you Shade’s buffs.
Assemble Abomination, meanwhile, summons a powerful tanky minion. To make the most of it you’ll need to employ snapshotting (basically gear and skill swapping, which many players despise), but it’s still reasonable without.
Finally, Summon Wraith has respectable damage thanks to Dread Shade and Wraith’s many critical strike passives. As usual, there’s lots of support here on the tree for Fire, Necrotic, or Poison variations, but also a Bleed one. And like Shade, it can convert into a damage over time skill (Spectre of Death).
Notable notables on the Necromancer tree include Elixir of Hunger for health, increased percentage health, health on hit, and attack/cast speed, and Rite of Undeath for 120 total resistances on top of a nice damage boost. More broadly, you won’t find yourself short on recovery damage, minion support, armour and resistance shred, ward or ward retention, or crit in both its forms. There’s not much in the way of defense here outside of recovery and minion tanking, which holds it back some.
C-Tier: Runemaster
Runemaster is a rarely-seen-in-RPGs caster archetype that lets you combine spells together to make unique spells (any Gauntlet fans in the house?). While you don’t have to play it this way, Rune of Invocation — the skill that enables this — is the reason to play Runemaster, offering extreme versatility via invocations, many with very impressive damage numbers.
Hydrahedron is one of the highlights — casting this spell via Rune of Invocation is part of what makes the Mastery and build 1000 corruption viable. Defense is still a serious concern, but if you keep on the move, you should stay alive. For those with a bigger budget, there’s Focus Autobomber, which uses the Brand of Deception and Runic Fortress passives to strong effect. The DPS isn’t anything special, but it’s very tanky. The idea here is to stack Strength, Intelligence, and Ward for armor and shock. As a bonus, it’s easy to play.
Flame Rush is a movement skill with legitimate damage numbers paired with damage reduction, and can serve as a respectable damage skill when desired. Frost Wall, meanwhile, can brag about a very high 400% damage effectiveness, 100% chance to chill, and Freeze chance. Plus, it’s a damage over time skill, so it has less gearing requirements, and it’s a strong bosser thanks to Decree of the Burning Wind (on the Runemaster passive tree).
Runebolt is no slouch either, offering a 200% crit multiplier and mana regeneration while getting around resistances with Decree of the Bountiful Ocean. Lastly, Glyph of Dominion measures up well numerically, while providing guaranteed slow. There’s also an interesting interaction there with Decree of Eternal Tundra for lots of ward per second.
As for the passive tree, there’s all kinds of support for Ward, mana, elemental debuffs, cast and movement speed, reduced critical strike damage, cooldown recovery, and armour and damage for Fire builds and Freeze multiplier and damage for Lightning builds, among other things. It’s not outrageous like you see with the higher tier Masteries, but it’s still competitive.
C-Tier: Forge Guard
Forge Guard can hold its own as a Mastery, just not as well as the big boys. To put it another way, they do much of what it does but better. Still, there are some unique build options here that are great if you’re looking for something different.
Skill-wise, Manifest Armor is nice as a decoy and rewards STR/armor stacking (the primary unique build option). Shield Throw offers high added damage effectiveness, while Ring of Shields brings great defense to the table (especially with the Shield Crafter passive). Still, comparing it to Symbols of Hope, it comes up short, as it’s situational and purely defensive.
Smelter’s Wrath has a lot of potential as it scales offense and defense and boasts 600% damage effectiveness. Unfortunately, it’s a channeling skill with no option to change that, so it’ll slow you down and leave you a bit vulnerable. Next, you have Forge Weapon with a beefy 600% damage effectiveness, alongside summons for defense which scale off your weapon. Not bad at all.
In terms of passives, the only really standout one is Guardian for a lovely combination of health, stun chance, and regen. Steel Aegis, Iron Attunement, Walls of Solarum, and Osprixbane are certainly no slouches, but when evaluating the best nodes in other Masteries, Forge Guard leaves something to be desired. Apart from that, you can find efficient damage scaling throughout the tree.

D-Tier Last Epoch Masteries
D-Tier: Spellblade
It may be D-Tier, but even D-Tier still means viable. Spellblade is not lacking in DPS at all and is pretty speedy, but can struggle a great deal with defenses. The better your positioning, the less you’ll get one-tapped, but it’s still going to happen occasionally. If you don’t mind that and like the idea of combining magic with melee, it’s worth a go.
Flame Reave is playable but underwhelming. The base stats are strong enough, but damage cuts in half at a distance, AoE is limited, and the mana cost is fairly high. Worse, it only hits once per cast, which is a big no-no when compared to skills like Frost Claw that hit 20 times per cast (and for a lot more total damage), or Judgment on Sentinel—mind you, just about everything comes up short there!
On top of that, it lacks unique buffs and debuffs, and its crowd control node proves ineffective in practice. Too many of the nodes require downsides that aren’t worth it, as well. It can still get you to the mid-game or so (around 500 Corruption), but not nearly as efficiently as other skills, and unlike those, it will hit a wall.
Enchant Weapon is a potent DPS boost (65% situationally and 15% permanently), and if going the Ignite route, allows you to trigger Ignites instantly; always a powerful method of damage delivery. There’s also some ever-potent Leech for Lightning or Fire variations, and Chill for Cold. Surprisingly, there is no Freeze support.
Firebrand is similar to Reave in that it can hit 300 Corruption but not do much beyond that. It doesn’t have all the drawbacks of Reave and is quite enjoyable to play—imagine rapidly shooting fire beams at enemies up to mid-range—but unfortunately the damage isn’t quite there compared to top skills, so you’ll have a harder time than you need to when progressing, and will eventually fall on hard times. Still, if you’re looking for something off-meta and don’t need the best of the best, this is a good skill to go for.
Surge offers mobility, damage, tons of crit, and debuffs (including Stun), as well all all kinds of elemental and Ward support. Meanwhile, Shatter Strike loves crit while also providing some defense and offense in the form of cold debuffs, culling, Knockback, armor, Ward, and more. All in all, you absolutely will not have issues scaling damage, and it won’t even require much gearing, though obviously, better gear will take it even farther.
As for the passive tree, it provides ward support in every form, and intriguing nodes like Flame Walker for some mobile fire damage and fire resistance shred, and Arcane Shielding and Shattered Aegis for damage reduction and armour (worth the 10 points). Apart from those, you’ll find resistances, damage, health, and mana available. Unluckily, there’s little support for Parry. It’s a decent tree for sure, but there’s nothing outrageous to help it keep up with the top tiers.
D-Tier: Warlock
Warlock builds are focused on damage over time, which makes them easy to gear and in that sense, very new player and casual friendly. Curses are also a major element, amplifying damage by debuffing enemies. While builds like Witchfire are viable, they don’t do much better than other Masteries, and so rarely push far on the ladder.
Cthonic Fissure, Profane Veil, and Chaos Bolts are your star skills, all slotting into both the popular Bleed and Witchfire (Fire/Necrotic damage) variations. The damage they bring is what keeps Warlock at all competitive; Profane Veil even offers some defensive utility by making you invincible to everything but damage over time temporarily while granting damage over time itself.
Defense is where it all kind of falls apart. While you have access to high eHP and recovery (and Profane Veil) thanks to nodes like Spiteful Decay and Spirit Leech, that’s about it, which is a far cry from the better Masteries.
Fire/Necrotic focus builds will find The Ashen One passive is a must-grab for Witchfire, while Crimson Favours and Cauldron of Blood serves Bleed builds well.
D-Tier: Sorcerer
The classic caster class, Sorcerer is very much viable, but unfortunately doesn’t do a lot to stand out. Frostbite Frostclaw is one of the better builds available, proving itself as an all-rounder, but suffering from mana issues and lacking speed.
Skill-wise, you have some strong stats on Static Orb, and as always vacuum skills like this (and Black Hole) hold their own. It gets more interesting with skill nodes like Static Armor that grant a situational 25% less damage taken, and Overwhelming Barrage which dramatically increases stun chance. There are also options to convert it into a cold and Freeze skill for yet another defensive layer.
Ice Barrage sports some respectable numbers as well, and its 40 Freeze rate is competitive with Frost Claw — even better, it auto targets enemies, and has the option to creating a Chill effect AoE or a shield that blocks projectiles.
Arcane Ascendance is powerful but prohibitive, due to its high mana cost (somewhat offset on the tree), lack of crit, and lacking secondary damage. Still, its tree makes it quite versatile, providing access to Knockback, Slow, Haste, auto casting, and more.
As for Black Hole, this is a potent single skill with 600% damage effectiveness and some vacuum utility. It’s arguably best used as single target, but can be customized for clear. On the tree you’ll find even more utility in Knockback and Blind, and options to convert into Fire or Cold for builds focused on those elements.
Lastly, Meteor has huge base stats (190 fire + 950% damage effectiveness), but at a high mana cost, demanding you build around it with mana stacking and Archmage, whjch aren’t in a great spot.
On the passive tree you get lots of ward support in all its forms, substantial damage buffs, and cast speed, elemental debuffs, leech, and penetration. It’s certainly not the whole package, but it’s not nothing, either. The Mana Bulwark node — which deals damage to mana before health — is tempting, but unfortunately this is an ineffective mechanic in practice.
Sean Ridgeley is a freelance contributor for IGN and lives for all things RPG, FPS, horror, and fighting. When he’s not grinding Last Epoch, Path of Exile, or Overwatch, he can be found headbanging in moshpits.